Three pass test drive checklist to spot hidden faults
Use a three pass test drive and checklist. Do walkaround and safety checks, follow eight must do items, and spot red flags before buying.
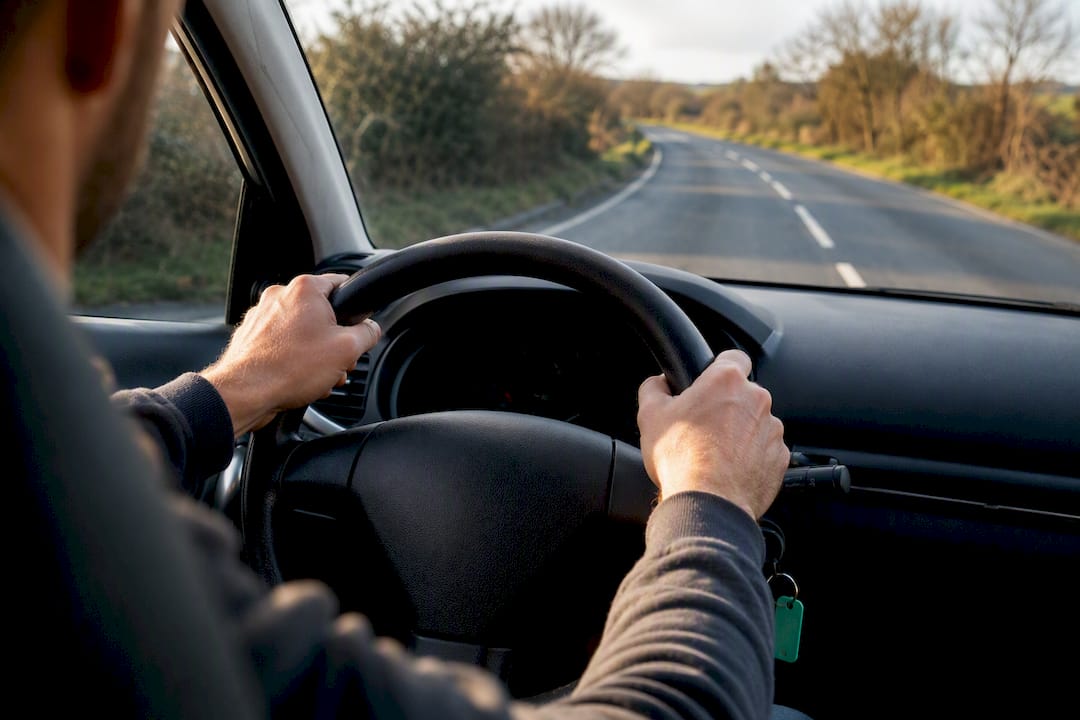
Test-drive as if you already own the car. That means a cold start, a full exterior walkaround, and a varied route covering town, rough surface and motorway, not a five-minute loop around the block. Bring your valid driver’s licence, your phone and charger, and set aside a sufficient amount of time to complete a thorough test drive. What follows is the step-by-step checklist and the red-flag rules that separate a sound purchase from an expensive mistake.
TL;DR:
- Verify the exact trim, engine, and wheel size you plan to buy by confirming details with the dealer before the test drive.
- Conduct a thorough exterior walkaround, checking for uneven panel gaps, rust, paint overspray, and signs of accident repair or neglect.
- Spend time adjusting the seat, mirrors, and testing controls to ensure a comfortable driving position that can’t be fixed later.
- Perform a structured three-pass drive over parking lot, rough road, and highway to detect suspension, steering, and tire issues.
- Confirm all safety systems, including autonomous emergency braking and lane-keeping assist, are active and working properly before purchase.
Table of Contents
- What to bring on your test drive
- Confirming the right trim and planning your route
- The exterior walkaround that catches costly problems
- Checking the interior and everyday controls
- The on-road checklist: three passes that reveal the truth
- Testing the safety and driver assistance systems
- Red flags that should stop you buying
- What to do after the drive, before you decide
- The eight things I never skip on a test drive
- Sources
What to bring on your test drive
A test drive is a diagnostic session, not a joyride, and you need the right kit to make it one. Most buyers arrive with nothing but car keys and good intentions, then wonder why they missed a fault a mechanic later finds in ten minutes.
Pack these before you leave the house:
- Your valid driver’s licence and the appointment confirmation, ideally on your phone
- A notepad or notes app to log every observation while it’s fresh
- Everyday items you’d actually carry: a child seat, dog crate, golf bag or work case
- Your phone and charging cable to test infotainment pairing
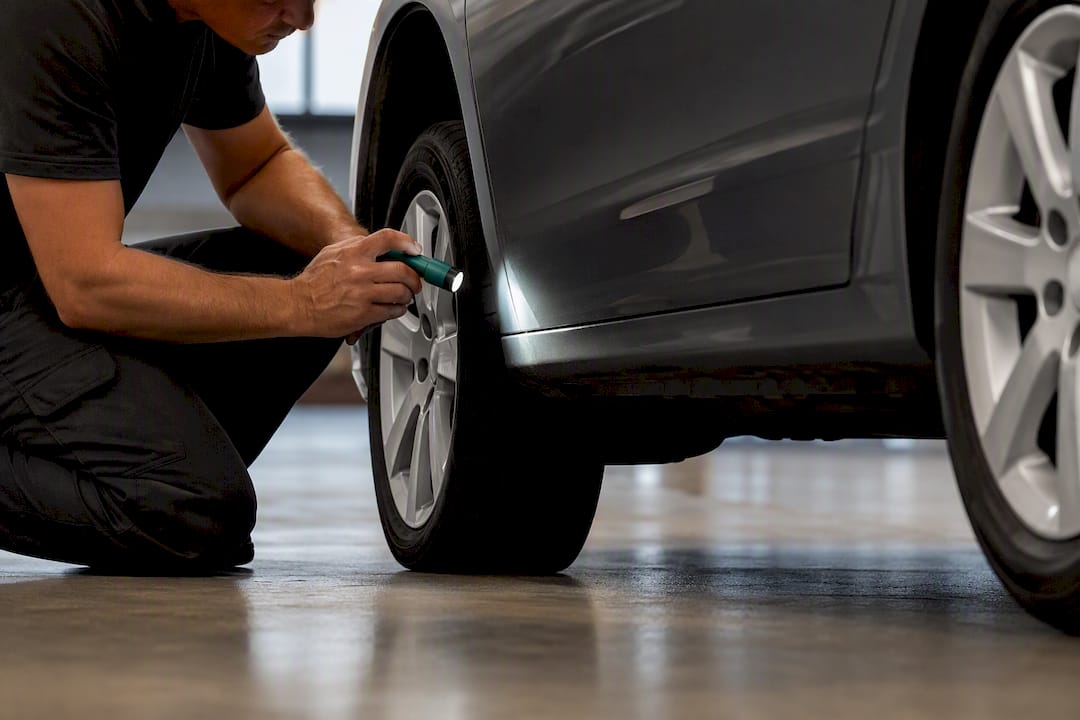
- A torch and, if you own one, a tyre-tread gauge
Each item earns its place. The child seat tells you instantly whether the ISOFIX points and door aperture suit your family, something no spec sheet conveys. Pairing your phone checks whether Android Auto or Apple CarPlay connects smoothly over both cable and Bluetooth, because a laggy infotainment system becomes a daily irritation fast. The notepad matters more than it sounds: memory fades within an hour, and you’ll want a written record before you start negotiating.
Confirming the right trim and planning your route
Dealers often keep a single demonstrator on the forecourt fitted with a different engine, wheel size or suspension setup to the car you’re actually buying, and that substitution changes everything from ride comfort to acceleration. Get this wrong and you’ll fall in love with a car you can’t actually purchase.
Follow this sequence before you turn a key:
- Call ahead and confirm the exact trim, engine and wheel size you intend to test, not a “similar” model.
- If you’re comparing two or three cars, book them back to back on the same day so impressions stay fresh and comparable.
- Ask whether the route can include a stretch of town driving, a rough or poorly surfaced road, and a short motorway run.
- Map that route in your own car first if you can, so you know exactly which junctions, bumps and hills to expect.
- Confirm the appointment time allows at least 30 minutes behind the wheel, not a rushed 10 minute circuit.
Larger wheels look sharp in photos but transmit more road noise and a firmer ride than the base trim; a different engine can also mean a completely different soundtrack under load. Consumer Reports is blunt about this: test the specific configuration you intend to buy, because suspension tuning and acceleration vary significantly between versions of what is nominally “the same car.”
The exterior walkaround that catches costly problems
Spend five minutes walking around the car before you even ask for the keys. This is where accident history, neglect and hidden repair work usually show themselves, and it costs you nothing but time.
Work through these points systematically:
- Check tyre tread depth and wear pattern; uneven wear across the tread often signals alignment or suspension faults.
- Look at wheel rims closely for scuffs, cracks or signs of recent refinishing that might be hiding kerb damage.
- Run your eye along panel gaps and paint colour from several angles; inconsistent gaps or a slightly different shade between panels suggests crash repair.
- Look for paint overspray on rubber trim, door hinges or under the wheel arches, a classic sign of a respray.
- Check for rust bubbling at sills, wheel arches and around the boot lid, especially on cars over five or six years old.
- Examine headlight and taillight lenses for cracks, condensation, or mismatched clarity between the two sides.
- Crouch down and look underneath for oil stains, coolant residue or a suspiciously clean underside on an otherwise well-used car.
Pro Tip: Take five photos from the same angles on every car you view, front-left, rear-right, underside, each wheel. Side by side later, small differences in ride height or panel alignment jump out that you’d otherwise forget.
Uneven ride height from one corner to another usually means a tired spring or a botched repair, and it’s a detail sellers rarely mention voluntarily.
Checking the interior and everyday controls
Comfort problems don’t announce themselves in a five-minute sit. They surface on the drive home three weeks after purchase, when it’s too late to do anything about them. KBB’s testing guidance is emphatic on this point: spend real time adjusting seat, steering column and mirrors, because a poor driving position cannot be fixed after you’ve handed over the money.
Before you start the engine, work through the cabin properly:
- Adjust the seat, steering wheel reach and rake, and every mirror until your driving position feels natural, not just acceptable.
- Climb into the back seat yourself, or have a passenger of typical size do it, to check legroom and headroom for real journeys.
- If you have a child seat with you, fit it and check the ISOFIX anchors line up without a fight.
- Operate the climate controls, wipers, indicators and window switches to confirm nothing sticks or feels loose.
- Pair your phone via cable and Bluetooth to test the infotainment system properly, then delete your profile before you leave.
- Open the boot, fold the rear seats, and check for stains, unusual wear, or a musty smell that hints at water ingress.
A damp smell in an otherwise clean car is one of the most underrated red flags going. It usually points to a leaking seal or a flood-damaged history that a quick valet can mask but rarely cures.
The on-road checklist: three passes that reveal the truth
A short, smooth loop around a dealer’s block tells you almost nothing. A three-pass structured drive, parking lot, rough road, and highway, plus a heat-soak check afterwards, uncovers problems that a rushed test drive is practically designed to hide.
Work through the passes in this order:
- Parking lot pass. Turn the wheel fully lock to lock listening for clicks or groans, reverse using the camera and sensors, and pull the handbrake to check it holds firmly on a slope.
- Rough road pass. Drive over broken tarmac or a speed bump at low speed, listening for clunks, rattles or knocks, and note whether the steering pulls or wanders over the imperfections.
- Highway pass. Accelerate hard enough to merge confidently, then hold a steady 100 to 110 km/h and feel for vibration through the seat or wheel, a sign of unbalanced tyres or a wheel bearing issue.
- Duration check. Add it all up: aim for a sufficiently long duration of mixed driving, longer for older used cars or if anything about the seller feels rushed.
Vibration that builds with speed and disappears under braking usually points to a tyre or wheel balance issue rather than anything structural, but it’s still worth negotiating on.
Watch for symptoms during any of the three passes: the car pulling to one side under braking or acceleration, clunking over bumps, hesitation when you press the accelerator, or a vibration that comes and goes with road surface rather than speed. Any one of these on its own might be minor. Two or more together usually means a proper mechanical inspection before you go any further.
Testing the safety and driver assistance systems
Every modern car carries a window sticker or spec sheet listing its safety equipment, but ticking a box on paper is not the same as confirming a system actually works. Autonomous Emergency Braking (AEB), blind-spot warning and rear cross-traffic alert all need to be seen in action, not just read about.
Ask the seller or salesperson to walk you through the safety systems before you drive off:
- Confirm AEB, blind-spot monitoring and rear cross-traffic alert are fitted and switched on, not disabled in a menu somewhere.
- Ask the seller to demonstrate how lane-keeping assist behaves, then judge for yourself whether the steering correction feels natural or intrusive.
- Check how easy the settings menu is to navigate if you want to adjust sensitivity or turn a feature off on a longer motorway run.
- Look for the airbag warning light extinguishing correctly after start-up, and check seat-belt adjusters move freely.
- Locate the ISOFIX anchor points in the rear seats and confirm covers aren’t damaged or missing.
Some drivers find lane-keeping assist genuinely helpful; others find it fights the steering wheel on a narrow country road. There’s no universally right answer here, but you should know which camp you’re in before you commit to living with the system daily.
Red flags that should stop you buying
Certain signs mean you stop the process entirely, not negotiate around them. KBB’s checklist treats dashboard warning lights, persistent pulling, and vibration through the steering wheel as immediate red flags rather than minor niggles worth haggling over.
Watch for these during the visit and the drive itself:
- Any dashboard warning light staying illuminated after the engine settles, especially the engine management or ABS light.
- A smell of burning oil, antifreeze, or visible smoke from the exhaust on a cold start.
- Grinding, slipping or hesitant behaviour from the clutch or gearbox, particularly on a manual car under load.
- A vehicle that pulls consistently to one side, whether under acceleration, cruising or braking.
- A seller who insists on warming the engine before you arrive, or who resists a route with varied road types.
- No service history, or gaps in it that the seller can’t explain.
Pro Tip: Insist on a genuinely cold start if you possibly can. KBB’s testing advice notes that some engine faults, worn piston rings or noisy valve trains among them, only show up on a cold engine and vanish once it’s warmed through, which is exactly why a seller might “helpfully” start it for you before you arrive.
A seller’s behaviour is itself a data point. Reluctance to let you drive the route you want to drive tells you as much as anything you’ll find under the bonnet.
What to do after the drive, before you decide
The test drive is only half the job. What you do in the hour afterwards determines whether you buy well or buy in haste.
- Request the service history, NCT results and a VIN or vehicle-history check, and ask for receipts covering any major recent work such as a clutch, timing belt or brake overhaul.
- Decide whether the car needs an independent inspection or a lift-and-look-underneath check, particularly if you noticed anything ambiguous during the rough-road pass; a scan is well worth the cost on any car showing dashboard warnings or uneven tyre wear.
- Write your notes and impressions down immediately, before emotion or a friendly salesperson talks you into overlooking something you flagged twenty minutes earlier.
Mileage should shift your priorities too. Around 30,000 miles, pay close attention to brakes and wheel alignment according to mileage and wear; past 100,000 miles, service records and visible signs of heavy wear matter more than almost anything else on the checklist. Separate what you documented from what you simply felt, and only then start talking numbers.
The eight things I never skip on a test drive
Cold start first, always, before the seller can “warm it up for me.” Then a full walkaround before I even sit in the driver’s seat. I turn the radio off for the first five minutes to hear what the engine and road are actually telling me. I pair my phone properly, fold every rear seat, and take a hill at low speed to feel how the gearbox or an EV’s regenerative braking responds under load. On an electric car, I specifically watch how aggressively regen kicks in when I lift off the accelerator, since that varies wildly between models and shapes how the car feels every single day. None of this takes long, but it’s the difference between buying a car and buying a story about a car. If you’re browsing listings before you even book a viewing, a marketplace like Ecosteer lets you check trim details and dealer information upfront, so you walk in already knowing what you’re supposed to be testing.
Sources
For deeper reading, see Consumer Reports on test-driving a car, KBB’s checklist, and RepairPal’s mileage-based guidance. To put the checklist into practice, browse listings and find a dealer near you on Ecosteer.
- Test-Driving a Car: A Checklist — KBB
- How to test-drive a new or used car — Consumer Reports
- Used car test drive checklist — Drivers Advice
- What to look for on a test drive — RepairPal
Recommended
Ecosteer Editorial
Author