30–45 Minute Car Sale Photography: 13 Essential Shots for Sellers
Use a 30–45 minute workflow and a 13 shot checklist to build honest photo galleries that generate more enquiries from buyers.
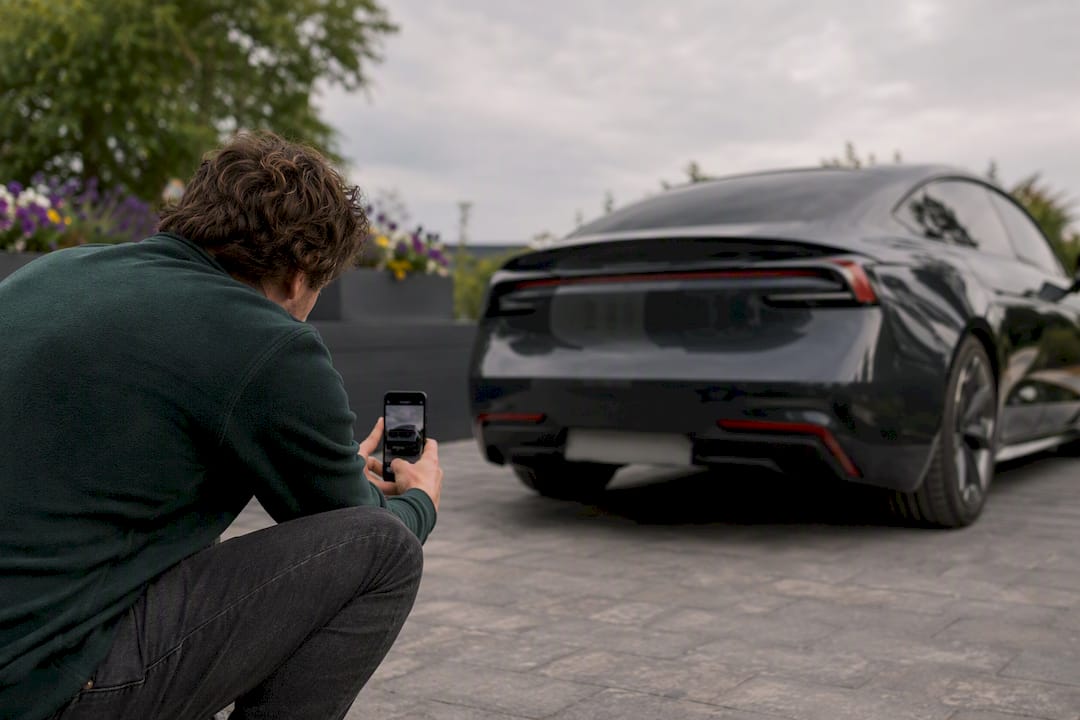
The fastest way to get more enquiries is a low front three-quarter hero shot paired with a complete photo gallery covering the full shot list covering exterior, interior and detail shots. A modern smartphone with a clean lens and HDR turned on is genuinely enough for most listings. Honest close-ups of scratches or wear speed up the sale rather than slow it down, because they filter out buyers who would haggle hard at viewing.
TL;DR:
- A full photo gallery with around twenty images, including a low-angle hero shot and detailed close-ups, significantly increases enquiries and buyer trust.
- Shooting in open shade, from headlight or door-handle height, and filling the frame with a plain background produces more professional and color-accurate exterior photos.
- Interior shots should focus on the dashboard, odometer, and damage close-ups, with honest disclosure reducing buyer questions and negotiation time.
- Proper vehicle prep, such as washing, decluttering, and framing the car neutrally, takes about 30 minutes and greatly improves listing quality.
- Consistent photography routines using a smartphone in landscape, HDR on, and minimal editing outperforms more advanced equipment without discipline.
Table of Contents
- The full shot list every car sale photography checklist needs
- How to shoot exteriors: angles, camera height and light
- Interior, mechanical and detail shots that buyers actually check
- Prepare the car and stage the shoot properly
- Gear and phone settings that actually matter
- Basic editing, file specs and how to keep it honest
- Gallery order, thumbnail choice and how many photos to upload
- A quick shoot workflow and printable checklist
- Why this method works
- Tailoring your shots for different sale platforms
- Photos that build genuine buyer trust
- Common mistakes that undermine a car sale photography gallery
- Preparation and staging before you shoot
- Why the usual advice on car photography misses the point
- List your car faster on Ecosteer with a gallery that’s ready to go
- Sources
The full shot list every car sale photography checklist needs
Buyers scroll through galleries the way they’d walk around a car in a driveway: hero shot first, then a slow lap, then a look inside, then the bits that reveal how it’s actually been treated. A missing angle raises a question mark, and question marks cost you replies.
Work through this sequence and you won’t leave gaps:
- Hero shot — front three-quarter, low angle, this is your thumbnail and it has to be right.
- Exterior corners — all four (front-left, front-right, rear-left, rear-right).
- Straight profiles — front-on, rear-on, driver’s side, passenger side.
- Wheels — each corner, close enough to show tyre condition and alloy finish.
- Dashboard and odometer — shot from the driver’s door or rear seat, mileage clearly legible.
- Front cabin — seats, centre console, infotainment screen.
- Rear seats — leg room and condition, doors open.
- Boot — empty, lid up, showing full depth.
- Engine bay — bonnet up, taken in daylight, not under a garage strip light.
- VIN plate — a quick trust signal that also protects you against fraud disputes.
- Tyre tread close-up — at least one, showing wear depth.
- Keys and service book — on a plain surface, signals a cared-for car.
- Damage close-ups — every scratch, dent or stain worth mentioning, shot tight and well lit.
A typical family car gallery usually includes around twenty images, which sits neatly inside the range that tends to generate more enquiries than a sparse six-photo listing. Each group earns its place: exteriors prove the car is what the description says, interiors let buyers picture themselves driving it, and details answer the objections they’d otherwise save for the viewing.
How to shoot exteriors: angles, camera height and light
Camera height changes more than most sellers expect. Shoot from standing height and every car looks stubby, top-heavy and slightly apologetic. Drop to roughly headlight or door-handle height and the same car reads as lower, longer and more confident in a thumbnail, which is exactly the effect you want on a marketplace where buyers judge in half a second.
Light matters just as much as angle. A car parked in open shade or under light cloud cover renders true colour with no harsh highlights, and that consistency across every photo is what makes a gallery feel professional rather than rushed. Open shade often beats flat overcast light and even golden hour for colour accuracy, because it avoids the warm cast that sunset light throws over paintwork.
Direct midday sun does the opposite of what you want:
- It bakes out highlights on the bonnet and roof, hiding real paint condition.
- It throws dappled shadows from trees or buildings straight across the bodywork.
- It creates glare on glass and mirrors that’s almost impossible to edit out convincingly.
Frame in landscape, always, and fill the frame with the car rather than leaving acres of driveway or sky either side. Choose a plain background: a wall, a hedge, an empty car park corner. A cluttered street scene with wheelie bins and other cars competing for attention pulls focus from the one thing you’re selling.
Pro Tip: If reflections in glossy paint or glass keep ruining a shot, move a few steps left or right rather than adjusting the phone. Reflections shift with your position far more predictably than they do with camera settings.
Interior, mechanical and detail shots that buyers actually check
Interior condition is often the deciding factor at viewing, so the photos need to do real work before the buyer ever opens a door. The most useful dashboard shot is taken from the rear centre seat looking forward. It captures the dashboard, centre console and odometer in one frame and helps the buyer imagine themselves behind the wheel.
For the engine bay and identifying details:
- Shoot the bay in daylight with the bonnet fully up, not under artificial garage lighting that throws a yellow cast.
- Get the VIN plate sharp and legible. It reassures buyers the car matches its documentation.
- Photograph the tyre tread depth gauge or a coin against the tread if wear is close to the legal limit.
Damage close-ups deserve the same care as your hero shot, not an afterthought snapped in a hurry. Get close, use even light, and let the flaw be genuinely visible rather than hinted at.
- A stone chip, a kerbed alloy, a torn seat seam: photograph each one clearly and honestly.
- Angle the shot so the damage reads clearly against the surrounding panel, not lost in shadow.
Honest damage photos reduce time-wasters at viewing stage. A buyer who’s already seen the scratch on the rear bumper isn’t going to use it to knock €300 off in person.
Prepare the car and stage the shoot properly
Ten minutes of prep before you pick up the phone changes the whole gallery. A dusty dashboard or a boot full of shopping bags reads as neglect even when the car itself is mechanically sound.
- Wash and dry the exterior — water spots show up badly in close-up shots, especially on dark paint.
- Vacuum the interior and wipe down the dashboard, seats and door cards.
- Clear out personal items — parking permits, sunglasses, phone chargers, anything that isn’t part of the sale.
- Polish or at least wipe the wheels — brake dust on alloys photographs far worse than it looks in person.
- Position the seats neutrally and tuck seatbelts away so they don’t hang across the frame.
- Cover or remove personalised number plates or parking permits if privacy is a concern; a private seller has no obligation to blur a standard plate, but it’s worth considering if you’d rather not have it searchable online.
A private seller working alone can usually complete the full shoot checklist in 30 to 45 minutes, prep included, once the car is already clean. The main time-saver is doing all exterior shots in one lap around the car rather than walking back and forth between angles.
Gear and phone settings that actually matter
You don’t need a camera upgrade to shoot a listing that performs well. A modern smartphone is generally sufficient once you’re deliberate about a few settings.
- Shoot in landscape orientation every time; portrait crops badly on most marketplace layouts.
- Turn HDR on so bright skies and dark shadows don’t blow out in the same frame.
- Wipe the lens with a microfibre cloth before you start. Pocket lint on the lens is the single most common cause of hazy, low-contrast photos.
- Avoid digital zoom entirely. Walk closer instead. Digital zoom softens detail and makes damage shots look worse than reality.
A tripod earns its place if you’re shooting a full dealer forecourt in one session and want identical framing across every car. A polarising filter attachment cuts glare on glass and paint, useful in bright conditions you can’t avoid. A small reflector helps bounce light into a shaded interior without changing your position.
Pro Tip: Keep a €5 microfibre cloth in the glovebox. It’s the cheapest accessory that reliably improves photo quality, and it takes less time to use than any editing fix afterwards.
For genuinely high-value or enthusiast cars, hiring a professional photographer can be worth the outlay, typically charged by the hour or as a flat session rate. For the vast majority of private sales, a careful smartphone shoot following this checklist gets you the same enquiry rate.
Basic editing, file specs and how to keep it honest
Editing should tidy up a photo, never rewrite what the buyer will actually see in person. Safe edits: cropping to frame the car better, straightening a tilted horizon, adjusting exposure and brightness, and removing sensor dust spots. Unsafe edits: painting out a dent, using generative fill to remove a scratch, or altering paint colour to look newer than it is.
- Crop and straighten before anything else.
- Correct exposure so the car isn’t underexposed against a bright sky.
- Remove dust spots on the lens, not on the car.
- Never retouch actual damage out of a photo.
GIMP is a free, capable tool for exactly this kind of light editing, and most phone gallery apps now include the same crop, straighten and exposure tools built in. Resize final images to around 1,600 to 2,000 pixels on the longest edge; that’s sharp enough for zooming on a marketplace listing without producing files so large they slow uploads. Keep your original, unedited photos somewhere safe in case a buyer or platform asks for a raw comparison.
Name files in shoot order (01_hero, 02_front, 03_rear, and so on) so platforms that preserve upload order display your gallery the way you intended, rather than shuffling by filename or timestamp.
Gallery order, thumbnail choice and how many photos to upload
A photo count in the mid-teens to mid-twenties is generally recommended for private sellers. Fewer than that leaves gaps buyers notice; far more than that just repeats angles without adding new information, and tends to dilute rather than strengthen a listing. Go beyond 25 only for genuinely complex vehicles, such as a modified car or one with a documented service history worth photographing page by page.
- Upload in this order: hero → remaining exterior → interior → engine and tyres → detail and damage → documents.
- The hero shot becomes your thumbnail on most platforms, so it needs to be the sharpest, best-lit, most flattering image in the set.
- Cut duplicates. Two nearly identical front three-quarter shots waste a slot that could show the boot or the service book.
- A consistent framing order across every angle makes the gallery feel deliberate rather than thrown together.
A quick shoot workflow and printable checklist
A private seller can run the full shoot in 30 to 60 minutes once the car is clean. Dealers moving through multiple vehicles a day can compress this further with a fixed routine.
- Prep — clean, declutter, position the car in open shade.
- Hero shot — front three-quarter, low angle, get this right before anything else.
- Remaining exteriors — one lap, corners then straights then wheels.
- Interior — dashboard, front cabin, rear seats, boot.
- Engine and tyres — bonnet up, tread close-up.
- Details — VIN, keys, service book, honest damage shots.
- Review — check every shot for focus, glare and missed angles before packing up.
| Weather problem | Quick fix |
|---|---|
| Direct midday sun | Move the car into open shade or reshoot in early morning |
| Overcast but flat light | Add a reflector to lift shadow detail in the interior |
| Rain or wet paint | Dry with a microfibre cloth between shots; water spots show in close-ups |
| Reflections in glass or paint | Reposition yourself, not the settings |
Checklist tools that standardise capture can help dealers running several shoots a week avoid the most common miss: forgetting the boot or the VIN plate under time pressure.
Why this method works
This checklist reflects what consistently improves buyer response across marketplace listings: a strong hero shot, full coverage, honest disclosure. Better photography also improves lead quality on Ecosteer, because buyers who’ve already seen the flaws arrive with realistic expectations rather than renegotiation demands. If you’re preparing a listing, Ecosteer’s guides on selling faster cover pricing and description alongside photography.
Tailoring your shots for different sale platforms
A gallery built for a general marketplace doesn’t always translate directly to an auction-style listing, and the differences are worth knowing before you shoot rather than after.
General marketplace listings, including most private-seller and dealer platforms, reward the standard a photo gallery covering the full shot list described throughout this guide: hero shot first, full exterior and interior coverage, honest detail shots near the end. Buyers browse these quickly, often on mobile, so the thumbnail and first three or four images do most of the work in getting a click through to the full listing.
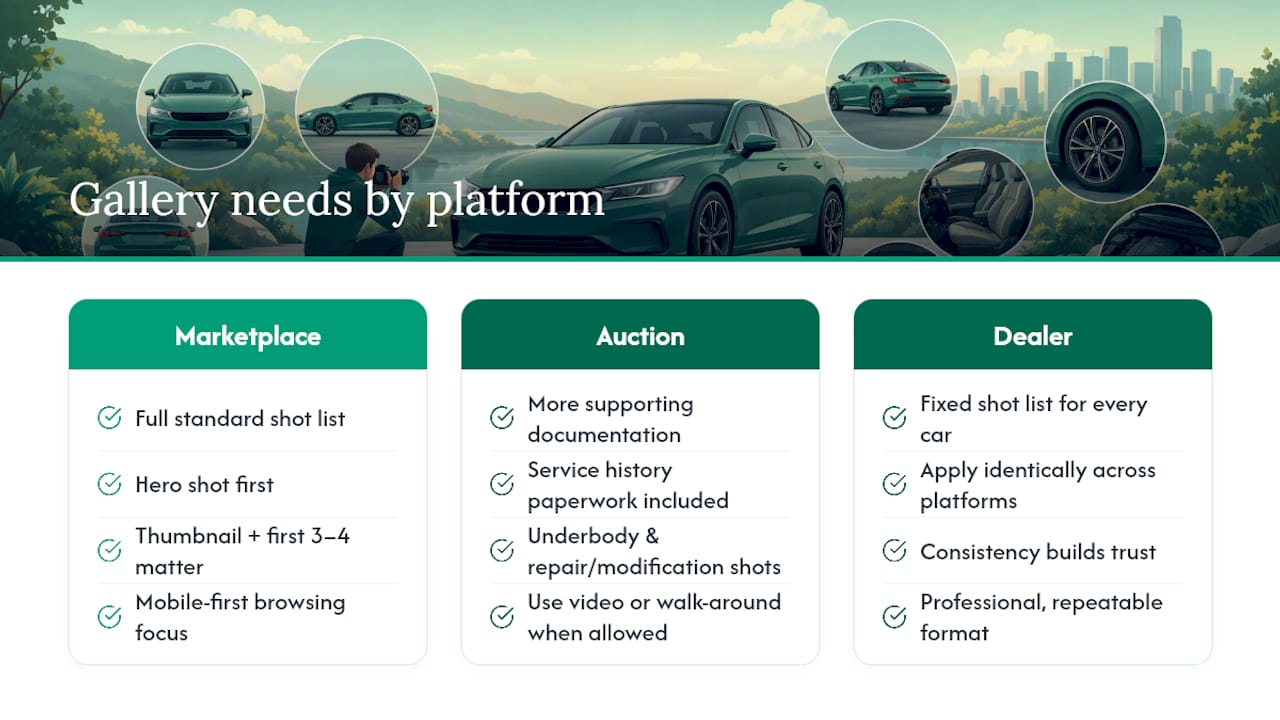
Auction-style platforms tend to reward more documentation, not less. Bidders can’t view the car in person before committing, so extra shots of service history paperwork, underbody condition where accessible, and any modification or repair records reduce the perceived risk of bidding blind. If a platform allows video or a walk-around clip alongside stills, that’s worth using for auction listings specifically, since it answers questions a static gallery can’t.
Dealer forecourt listings across multiple platforms simultaneously benefit from a fixed shot list applied identically to every car in stock. Consistency across a dealer’s inventory builds its own kind of trust: a buyer scrolling through ten cars from the same seller notices when every listing follows the same clean format, and that repetition reads as professionalism rather than monotony.
Whichever platform you’re listing on, the core photography principles stay the same. Only the depth of supporting documentation and the emphasis on extra angles shifts with the format.
Photos that build genuine buyer trust
Certain shots do more to reassure a buyer than others, and they’re worth prioritising even within an already solid gallery.
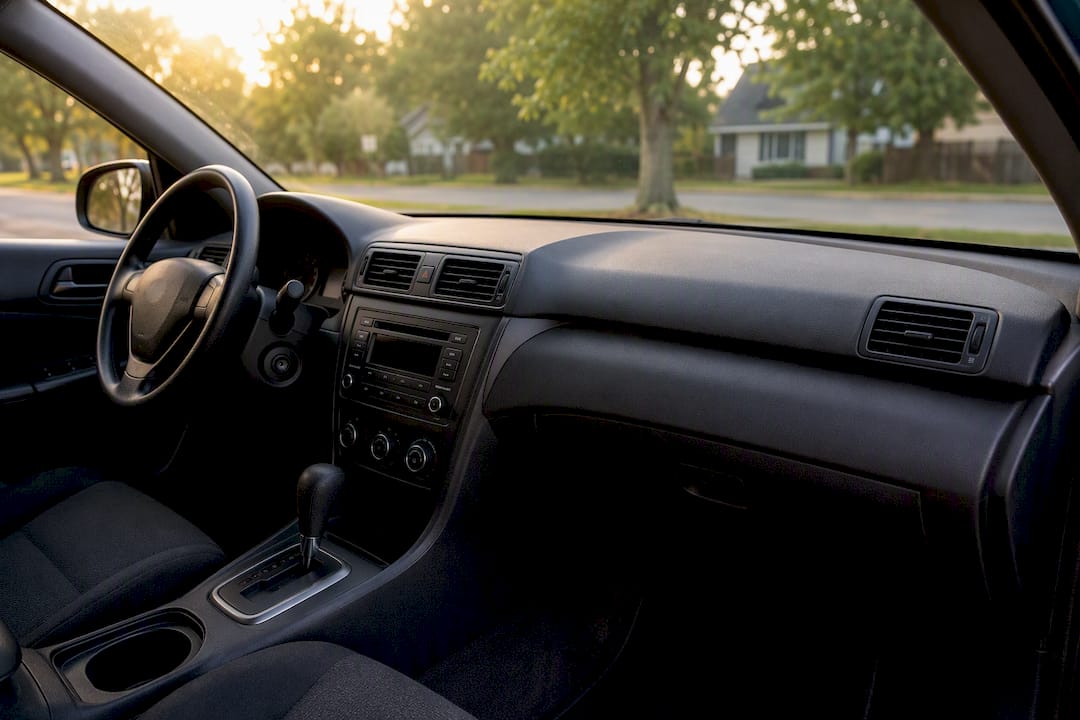
A photo of the dashboard with the engine running and warning lights visible (or conspicuously absent) tells a buyer more than a sentence of description ever could. It shows the odometer reading matches what’s advertised, confirms the engine starts cleanly, and lets a cautious buyer check for warning lights before they’ve even arranged a viewing. This single shot often does more to build confidence than three extra exterior angles.
A genuinely clean, uncluttered dashboard shot, taken from the rear seat looking forward, signals a car that’s been looked after day to day, not just cleaned up for the photos. Buyers notice the difference between a dashboard wiped down for a shoot and one that’s clearly maintained that way habitually, and it shows in small details like console wear and pedal condition.
Documentation shots carry weight too. A photo of the service book with stamped pages, or an NCT certificate laid flat and legible, reassures buyers that paperwork backs up the claims in your description. It’s a small addition to the gallery that closes a gap many listings leave open.
None of these shots need special equipment. What they need is deliberate inclusion in your shot list rather than being left as an afterthought if you happen to remember.
Common mistakes that undermine a car sale photography gallery
A handful of errors show up again and again in underperforming listings, and most are quick to fix once you know to look for them.
Shooting from standing height is the most common one. It makes cars look shorter and less confident than a low, deliberate angle would. Cluttered backgrounds run a close second: a driveway full of bins, other cars, or garden furniture pulls attention away from the vehicle you’re trying to sell.
Inconsistent lighting across a gallery is a subtler problem but just as damaging. A gallery that mixes a bright midday exterior shot with a dim, yellow-tinted interior shot taken later that evening reads as sloppy, even if each individual photo is fine on its own. Shoot the whole set in one session under one light source wherever possible.
Skipping damage entirely is a mistake sellers make for understandable reasons, but it backfires. Buyers who discover a scratch at viewing that wasn’t shown in photos feel misled, even if you never claimed the car was flawless, and that feeling costs you negotiating leverage rather than protecting it.
Finally, portrait-orientation photos and heavy-handed filters both undercut trust. A car shot in portrait crops awkwardly on most listing pages, and a filtered, oversaturated image makes buyers wonder what the paintwork actually looks like underneath the edit.
Preparation and staging before you shoot
The staging work happens before the camera comes out, and it’s often the difference between a gallery that looks professional and one that looks rushed.
Start with a proper wash and interior clean, not a quick wipe-down. Water spots, dust on the dashboard, and crumbs in the door pockets all show up clearly in close-up shots, even when they’d go unnoticed in person. Give the car time to dry fully before you start shooting exteriors; wet paint reflects light unpredictably and can make an otherwise good shot look messy.
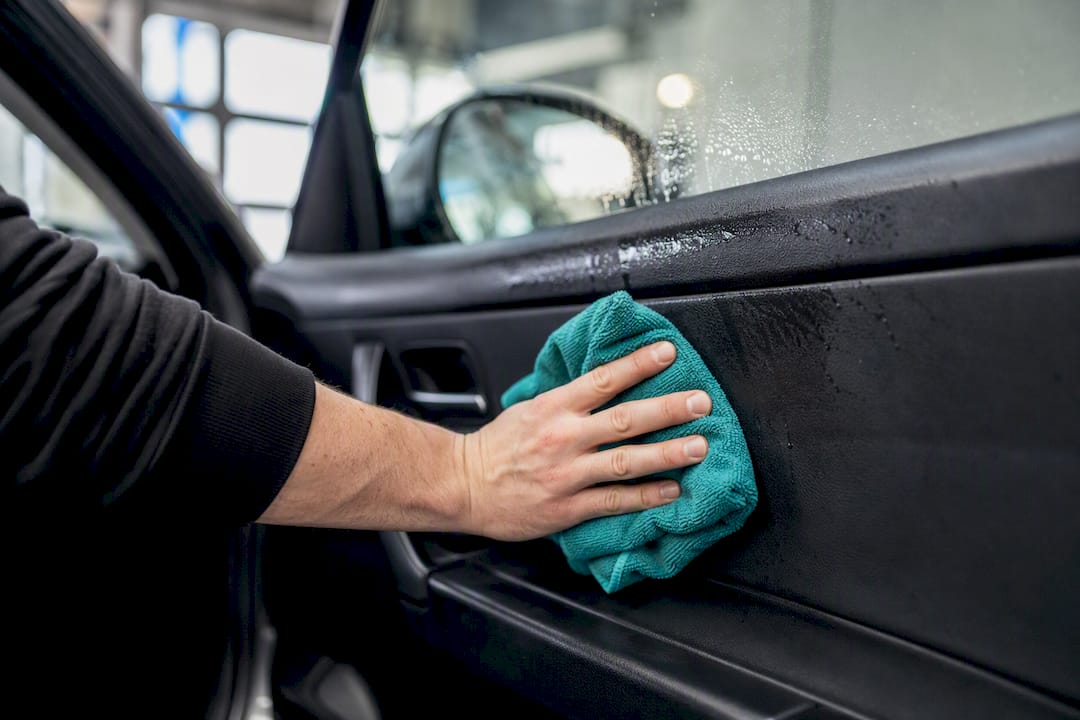
Clear out anything personal. Parking permits, air fresheners, phone chargers, loose change in the cupholder: none of it belongs in a listing photo, and leaving it in makes the car look less like it’s ready to hand over. Position the seats in a neutral, forward setting and tuck away seatbelts so they don’t cut across the frame in interior shots.
Background choice matters more than most sellers expect. A plain wall, a quiet car park corner, or a hedge line all work well because they let the car be the only thing competing for attention. Avoid driveways with wheelie bins, other vehicles, or busy street scenes in the frame. If you’re shooting at home, a five-minute tidy of the immediate background before you start pays off in every single exterior shot that follows.
Why the usual advice on car photography misses the point
Most guidance on this topic obsesses over gear: which lens, which camera body, which lighting rig. That’s the wrong place to start. The research behind this checklist points somewhere else entirely: consistency and honesty in the gallery outperform equipment every time.
A seller with a clean smartphone shot at door-handle height, in open shade, covering all 20-odd angles, will out-perform a seller with a full-frame camera who skips the odometer shot and shoots at midday. The gap isn’t equipment. It’s discipline in following the checklist every single time.
The overlooked mistake is treating damage disclosure as optional or embarrassing. It’s the opposite. A tight, well-lit close-up of a kerbed alloy filters out buyers who’d otherwise waste your Saturday afternoon trying to renegotiate at viewing over something they could have seen in photo twelve.
If you take one thing from this guide, prioritise repeatability over perfection. Shoot the same 20 angles, in the same order, in the same light, every time. That’s what turns photography from a chore into a system, and it’s the difference between one good gallery and consistently good ones.
— ibrahim
List your car faster on Ecosteer with a gallery that’s ready to go
Ecosteer is built around exactly the kind of ordered gallery this guide walks you through: upload your hero shot first, follow with your exterior and interior sequence, and Ecosteer’s listing pages display them in that order automatically, so buyers see your car the way you intended, not shuffled by upload time.
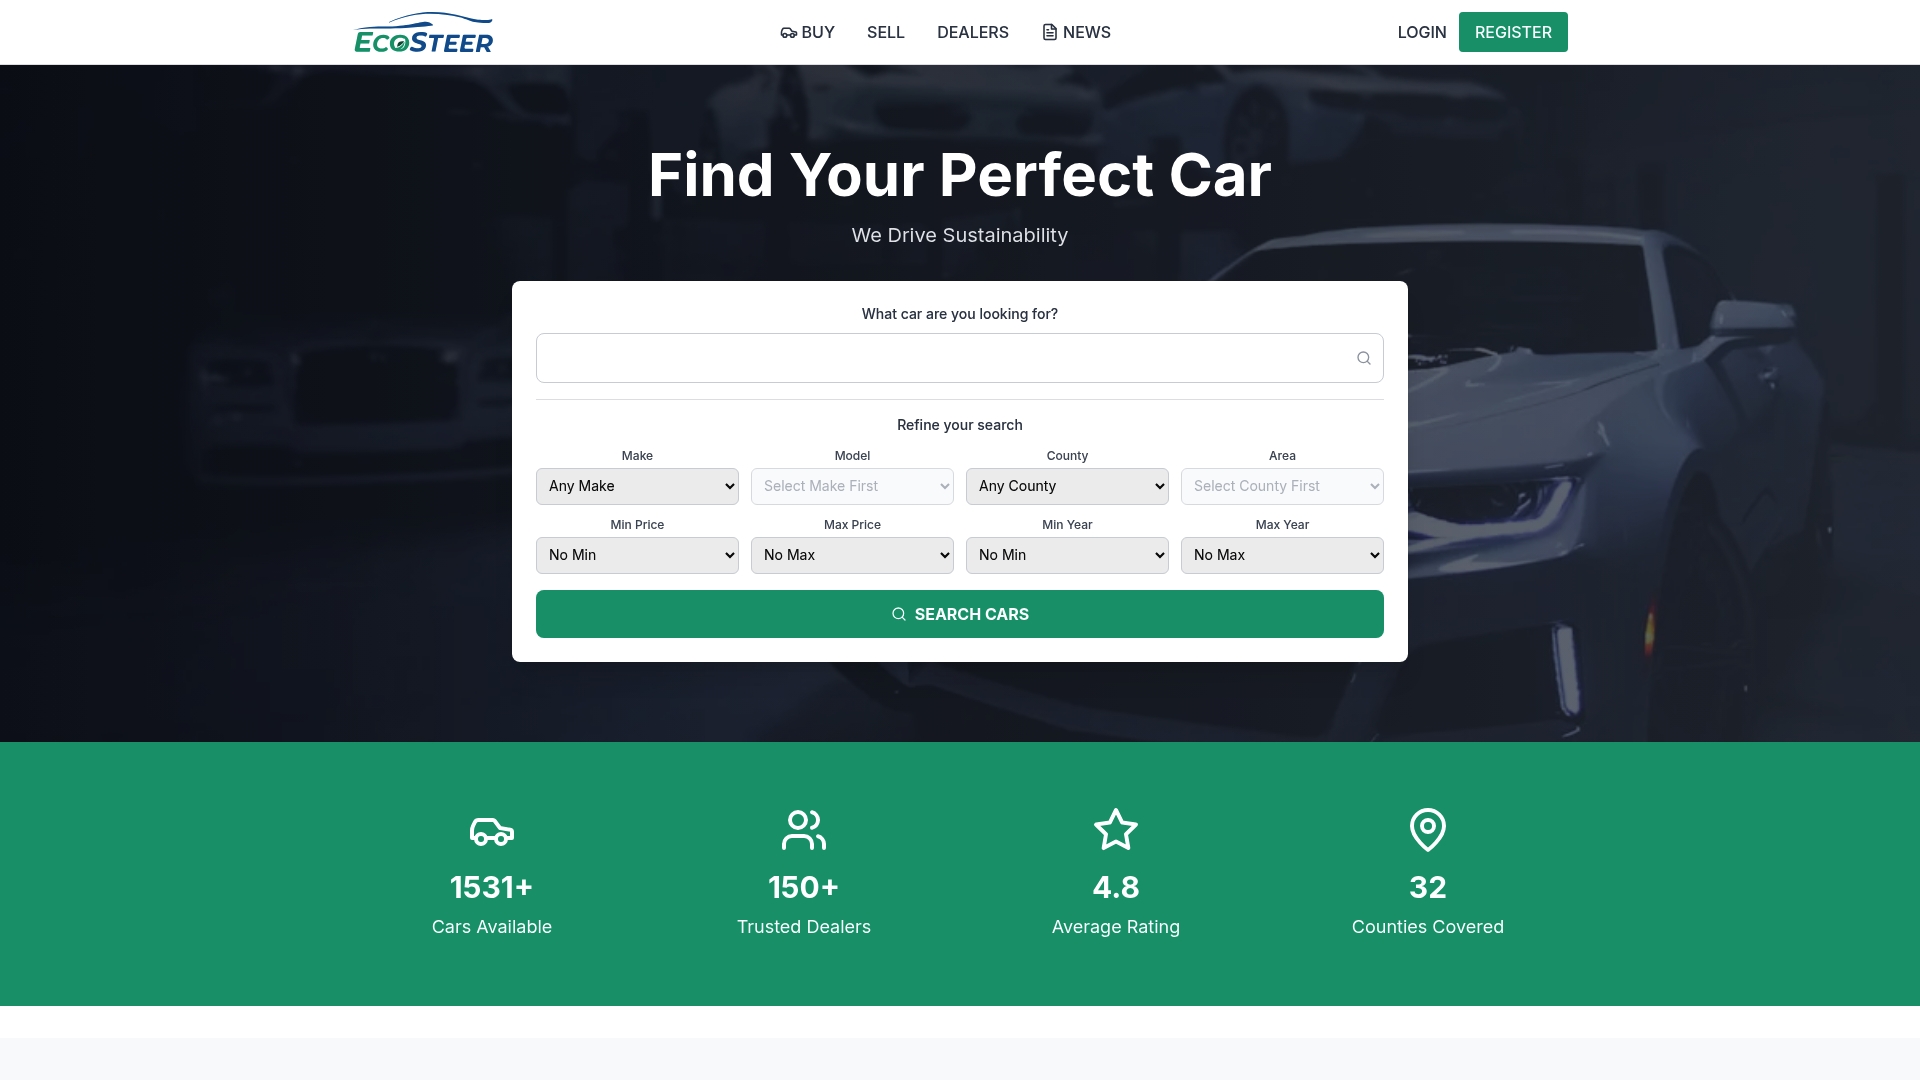
Dealers managing several vehicles at once can use Ecosteer’s dealer tools to keep photo sets consistent across an entire forecourt, and private sellers listing a car under €3,000 can take advantage of free listings while still getting the full 25-photo gallery allowance. Browse live listings on Ecosteer to see how a well-ordered gallery actually looks to a buyer before you shoot your own, then head to Ecosteer to start your listing and get your photographed car in front of buyers today.
Sources
- Car Photography Tips for Selling: Photos That Sell Your Car Faster
- How to Take Great Photos of Your Car | Bring a Trailer
- Car Photo Checklist — Take Every Car Photo Your Listing Needs
- How to Photograph Your Car to Maximise Sale Price | Dr. Vin
- GIMP
Recommended
Ecosteer Editorial
Author